iPhone Photography: Tips for Taking Stunning Photos
In the age of smartphones iPhone photography has become a popular and accessible way to capture and share moments. Apple’s iPhone cameras have evolved significantly offering features that rival professional cameras. Whether you’re an amateur photographer or simply want to take better photos with your iPhone, understanding how to utilize your device’s capabilities can make a huge difference. This guide provides comprehensive tips and techniques to help you take stunning photos with your iPhone.
Understanding Your iPhone Camera Features
Know Your Camera Modes
The iPhone camera app offers several modes each designed for different types of photography:
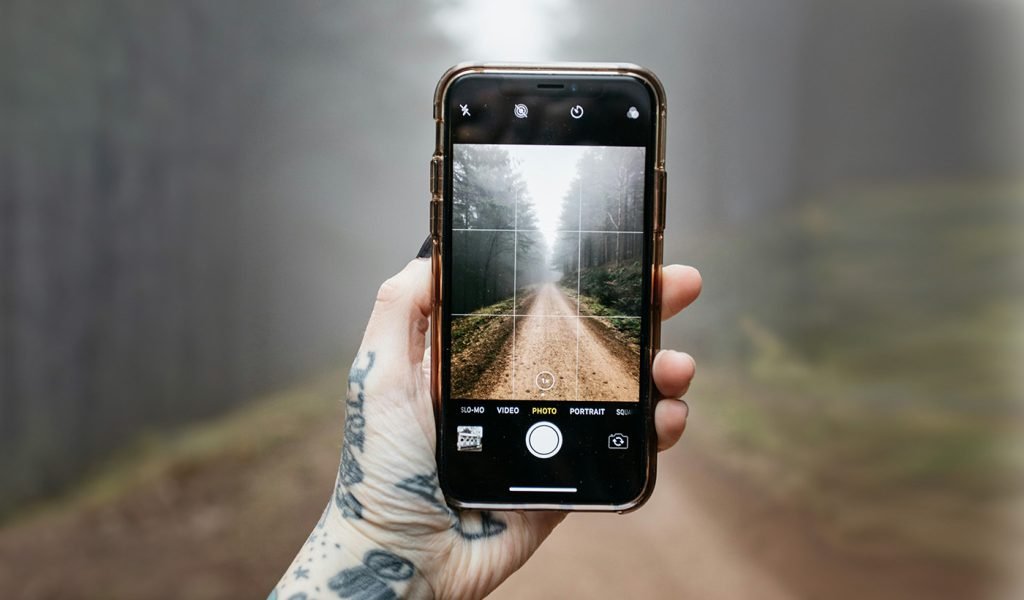
- Photo Mode: Standard mode for most photography needs including portraits landscapes and daily snapshots.
- Portrait Mode: Creates a shallow depth of field blurring the background and focusing on the subject. Ideal for portraits and close-up shots.
- Night Mode: Enhances low-light photos by using longer exposure times to capture more detail. Activates automatically in low-light conditions.
- Panorama Mode: Allows you to capture wide sweeping landscapes by sweeping your phone across the scene.
- Slo-mo Mode: Records video at a higher frame rate which can be slowed down for dramatic effects.
- Time-lapse Mode: Captures a series of frames at set intervals creating a video that shows time passing quickly.
Familiarize yourself with these modes to leverage their strengths in different scenarios.
Utilize Camera Settings
Explore your iPhone’s camera settings to optimize your shooting experience:
- HDR (High Dynamic Range): Combines multiple exposures to create a photo with better detail in both shadows and highlights. Toggle HDR on or off depending on the scene.
- Live Photos: Captures a few seconds of video before and after the photo adding motion and sound to your images. Use it for dynamic moments.
- Grid: Activates a grid overlay to help you follow the rule of thirds and achieve balanced compositions.
Mastering Composition
Rule of Thirds
The rule of thirds is a fundamental principle in photography. Imagine your image divided into nine equal parts by two horizontal and two vertical lines. Place your subject along these lines or at their intersections to create a more engaging and balanced composition.
Leading Lines
Use natural or man-made lines within your frame to lead the viewer’s eye toward the subject. Roads, rivers or architectural elements can create depth and draw attention to the main focus of your photo.
Framing
Frame your subject using elements within your scene such as windows arches or branches. This technique helps isolate the subject from the background and adds context to your photo.
Perspective and Angles
Experiment with different perspectives and angles to add interest to your photos. Shoot from high above low down or from unusual angles to create unique compositions that stand out.
Lighting Techniques
Natural Light
Natural light is often the best for photography. Shoot during the golden hour shortly after sunrise or before sunset when the light is soft and warm. Avoid harsh midday sun which can create strong shadows and overexposed highlights.
Avoid Direct Flash
The built-in flash on the iPhone can produce flat and unflattering light. Instead use natural light sources or invest in an external light source to illuminate your subject more evenly.
Use Reflectors
Reflectors can help bounce light onto your subject, reducing shadows and creating a more balanced exposure. You can use a dedicated reflector or improvise with household items like a white sheet or a piece of cardboard.
Conclusion
iPhone photography on site offers incredible opportunities to capture and share moments with ease and creativity. By understanding your iPhone’s camera features on-site, mastering composition, and utilizing various techniques, you can take stunning photos that stand out.